Povolit soubory cookie?
Tento web využívá cookies pro některé jeho funkce, vyhodnocování návštěvnosti a personalizaci reklam. Pomocí cookies nejsou shromažďována žádná citlivá data. Použiváním webu sohlasíte s jejich ukládáním. více informací


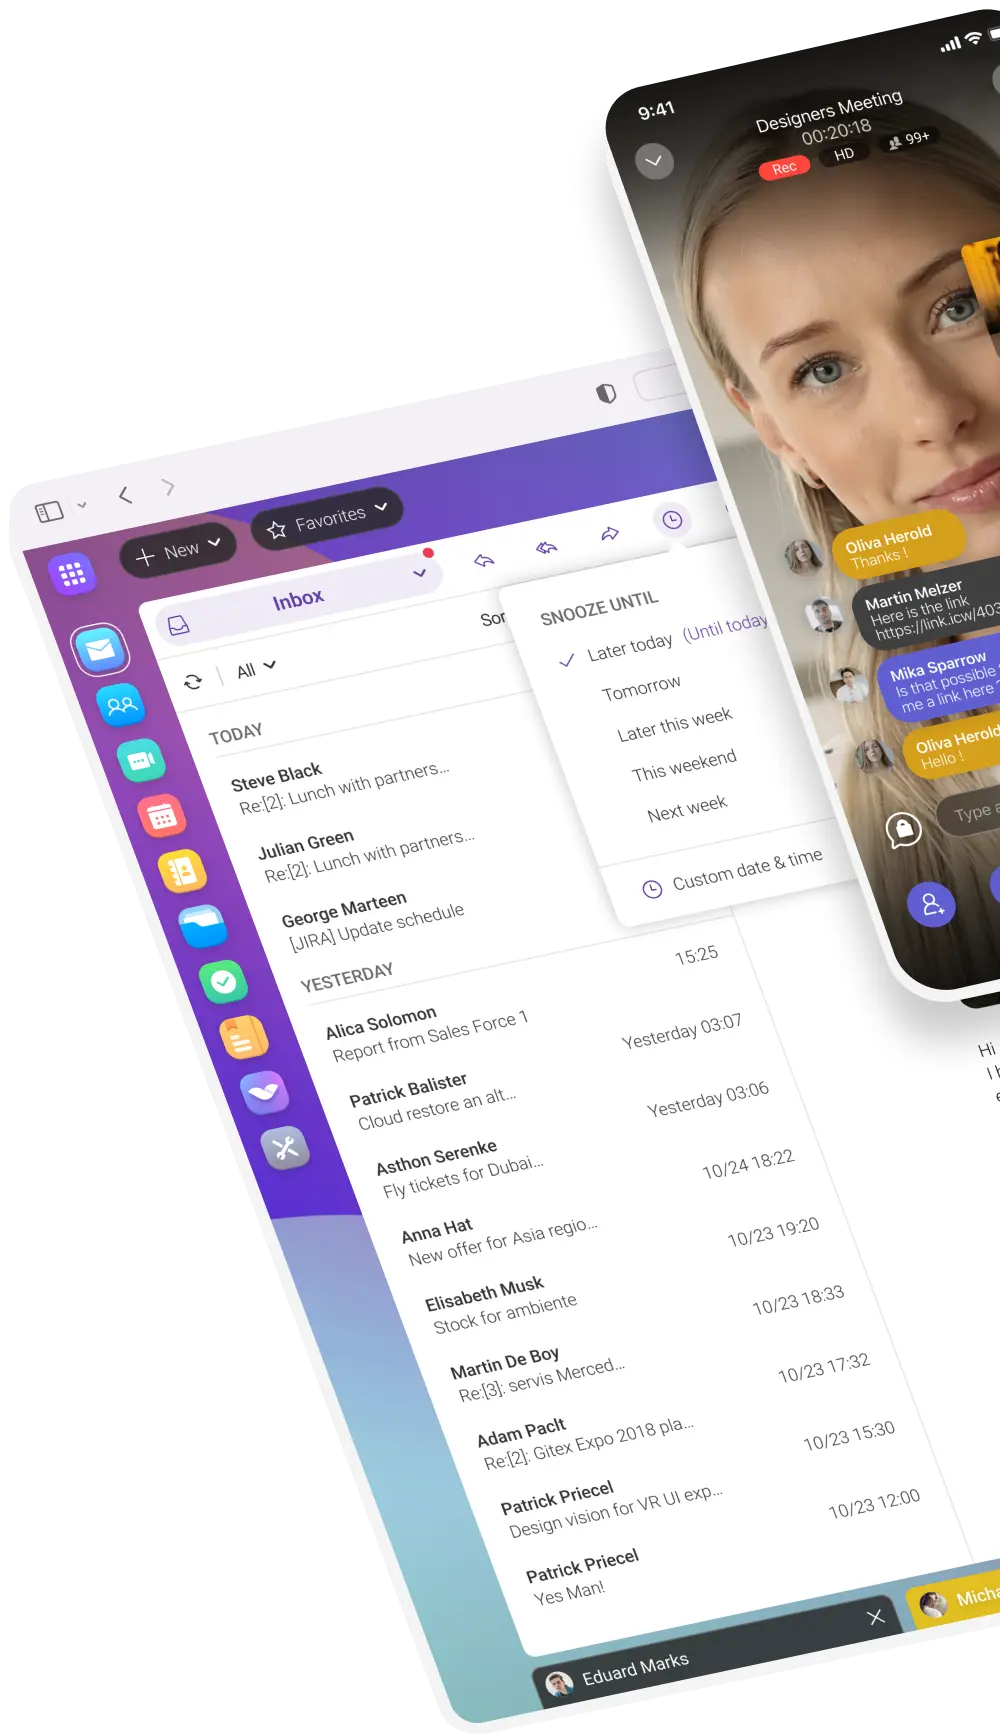
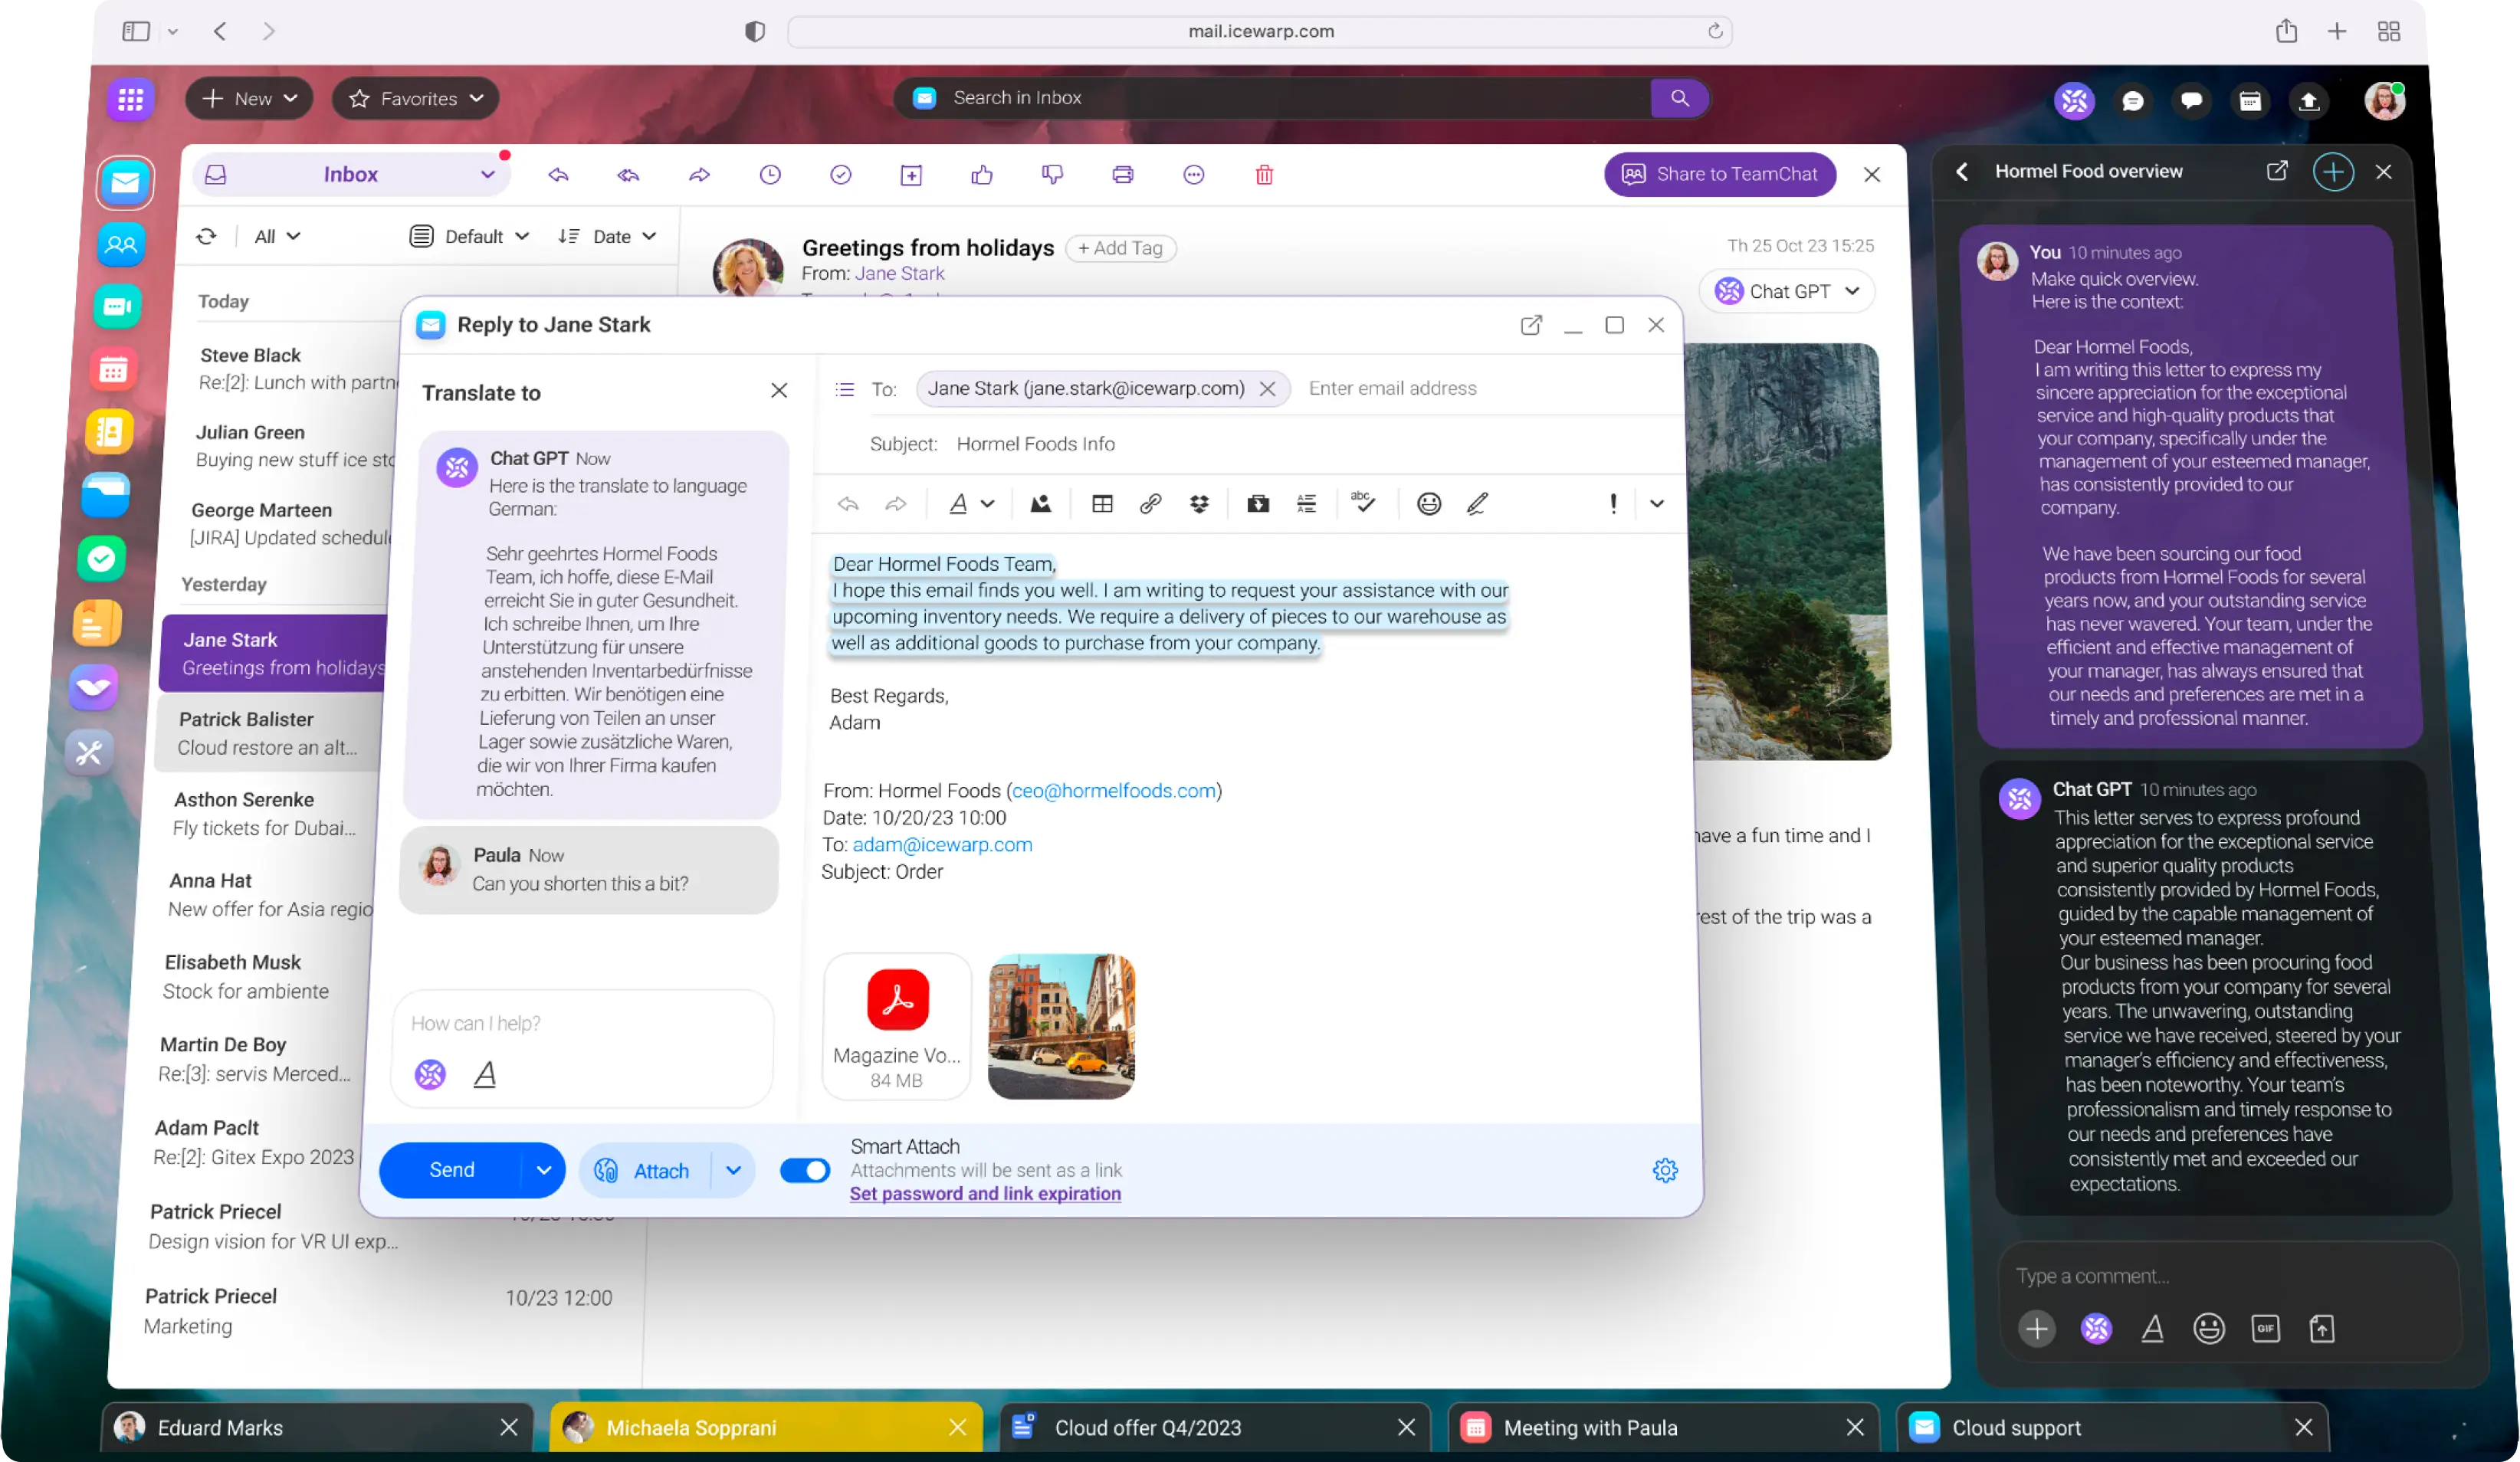
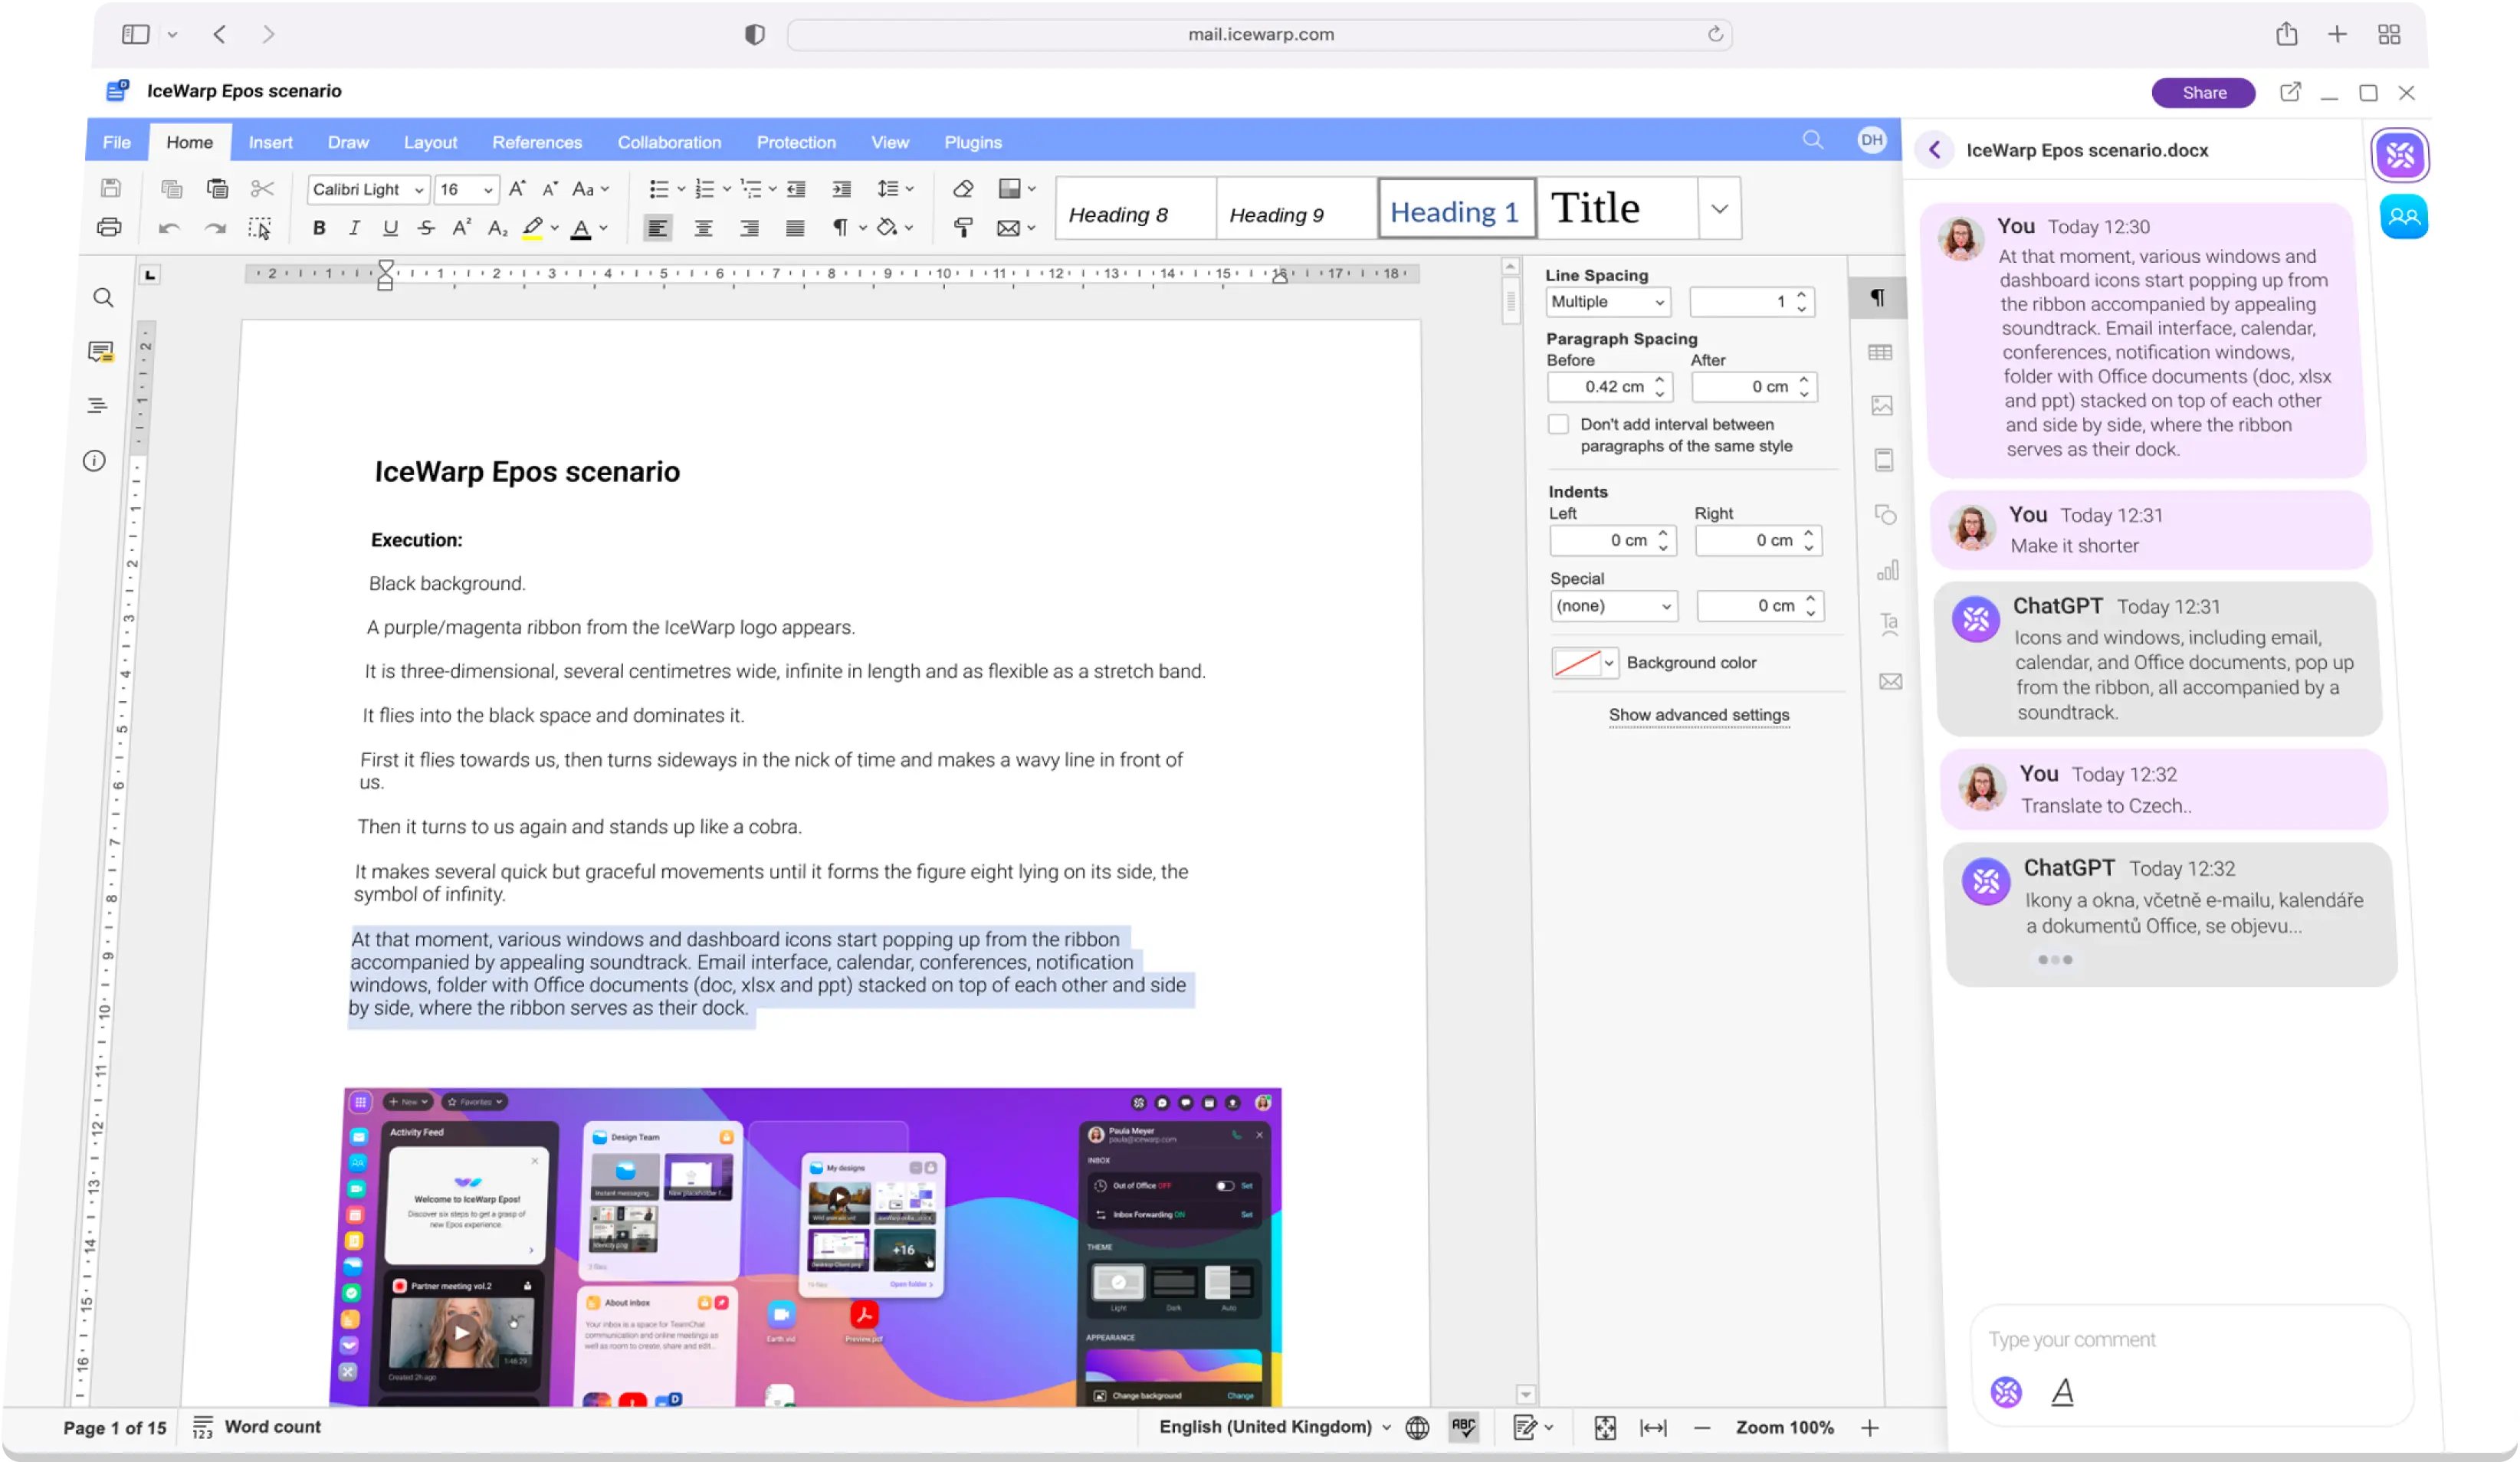
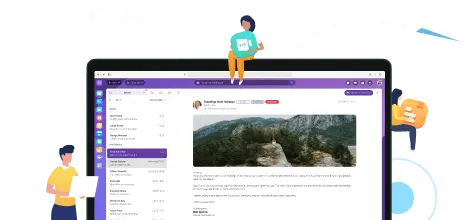
Integrace ChatGPT promění to, jak vyřizujete pracovní záležitosti. Při psaní e-mailů využijete automatické návrhy odpovědí, necháte si stručně shrnout dlouhé konverzace a náš AI buddy vám pomůže i se stylistikou dokumentů.
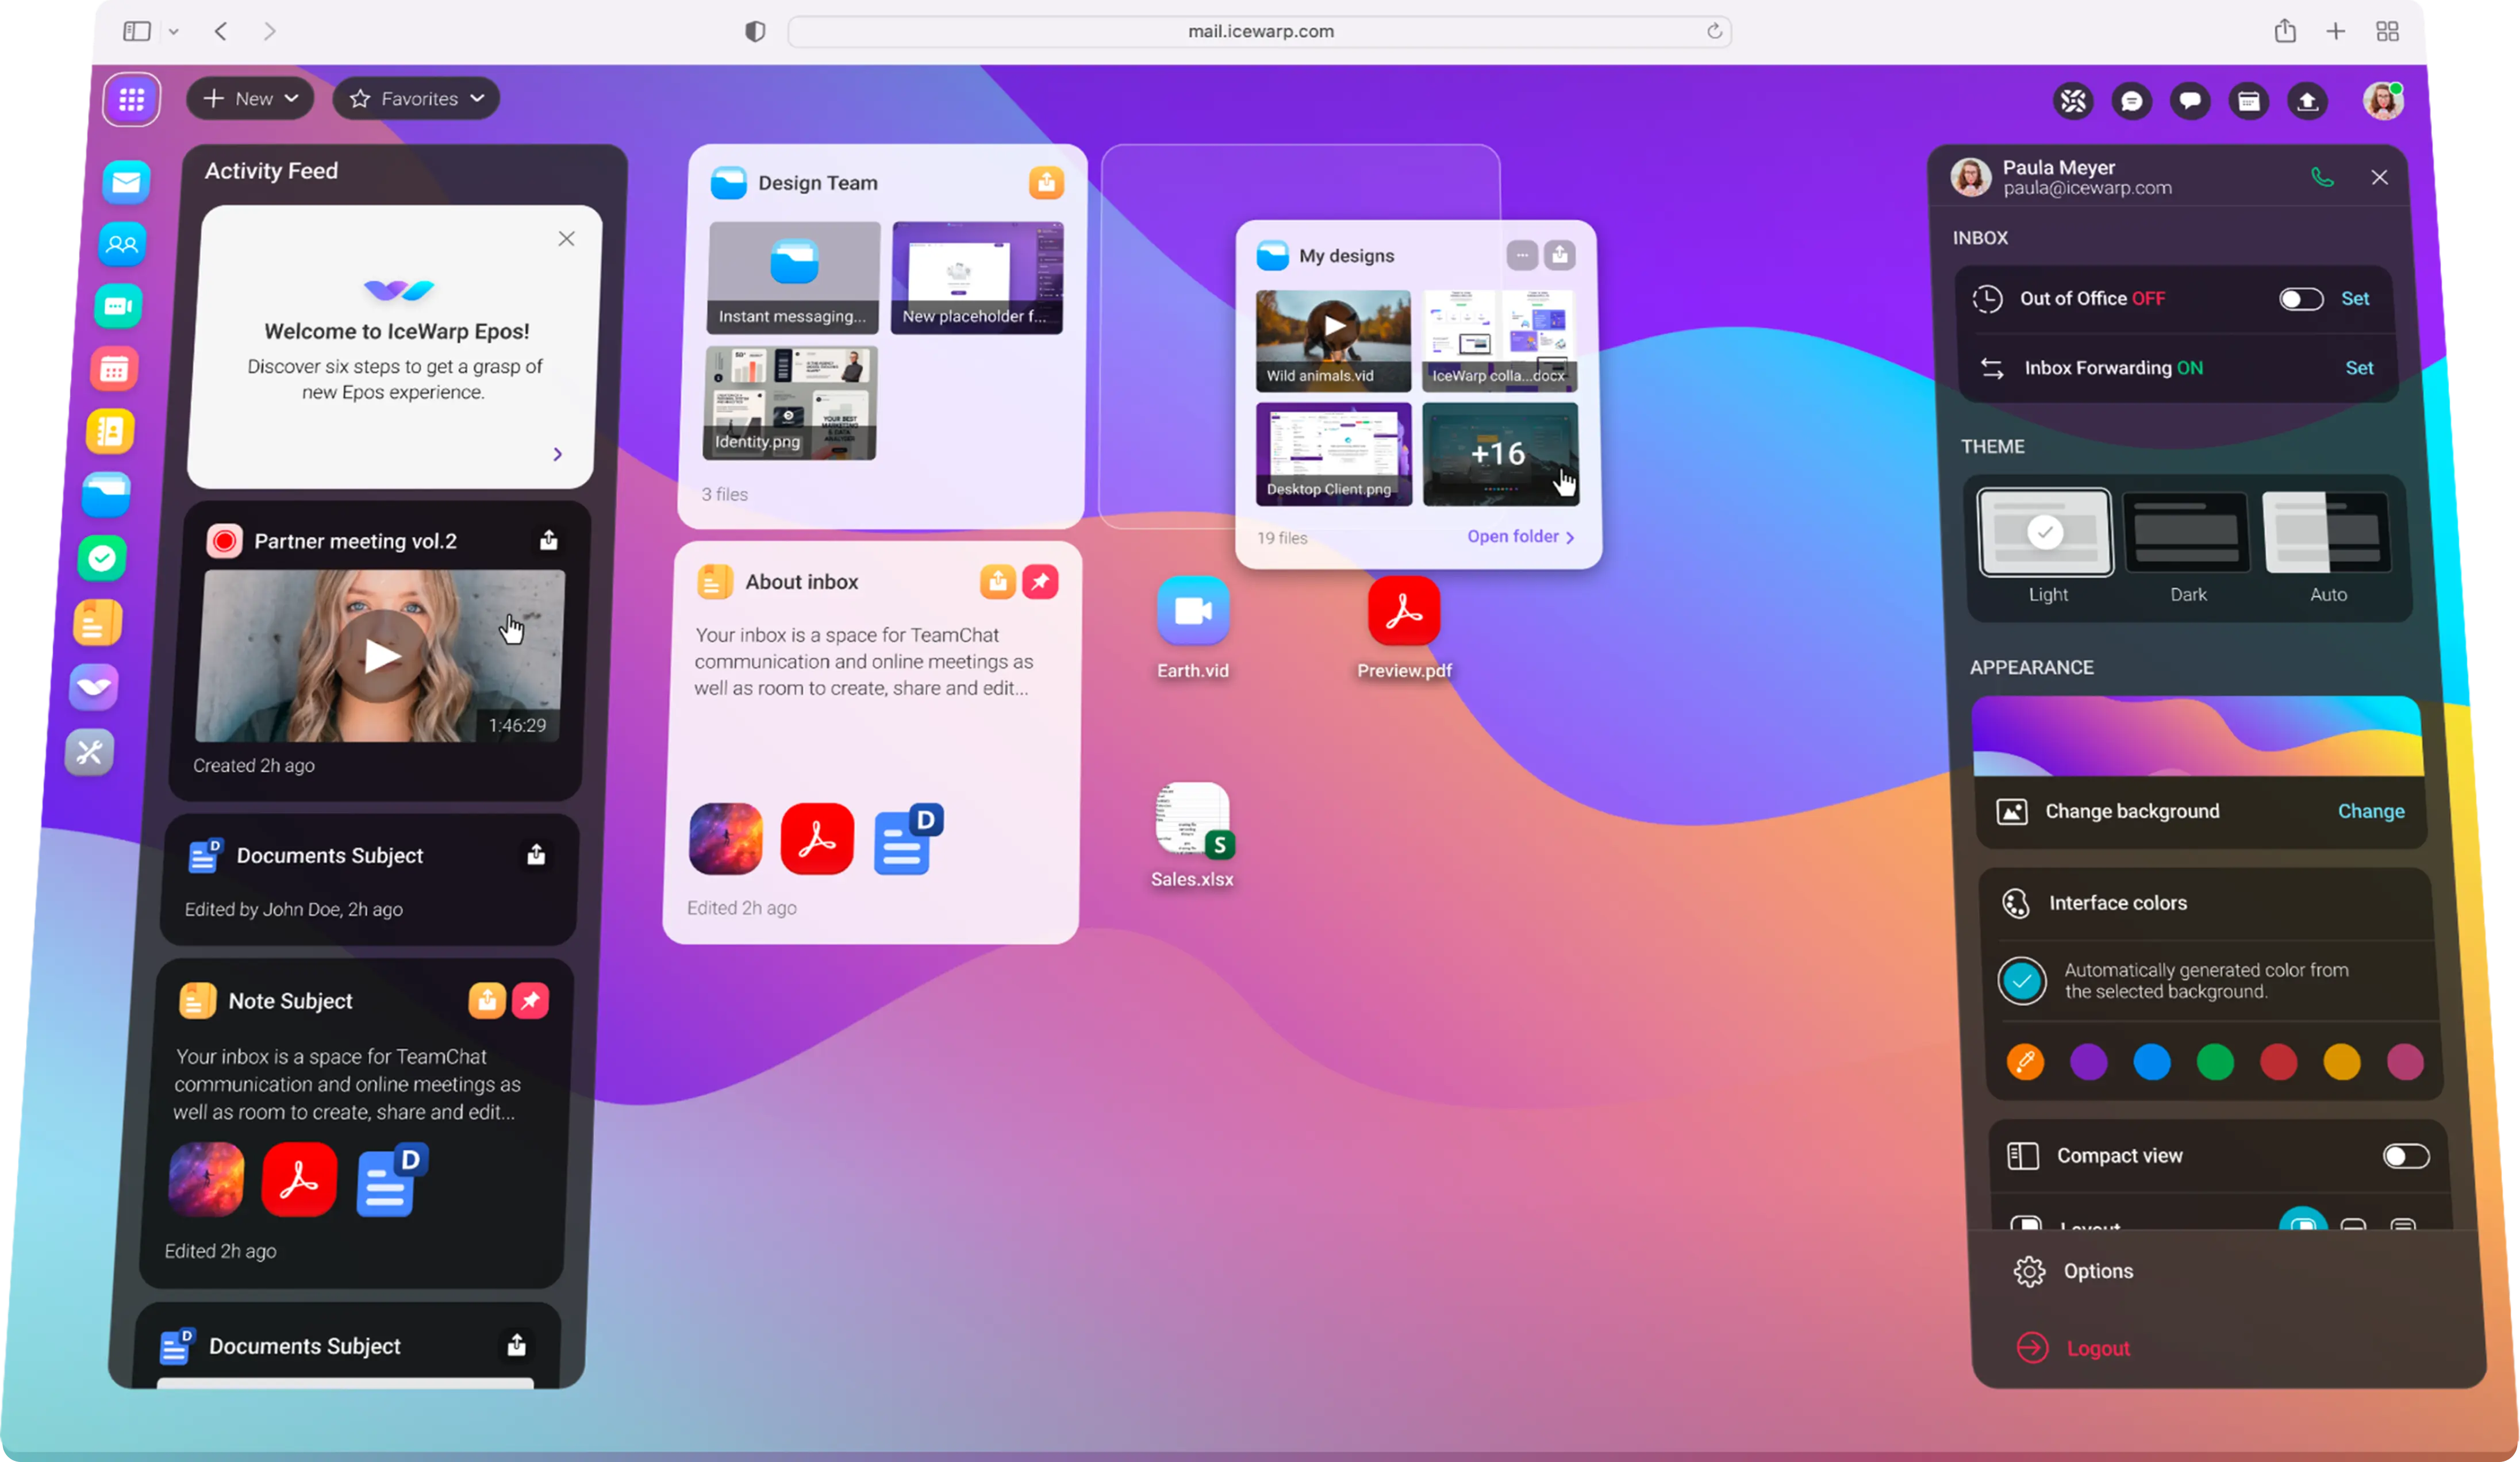
Podívejte se, co všechno jsme přidali a vylepšili v nové verzi.
Nabídka řešení na míru jednotlivým segmentům.
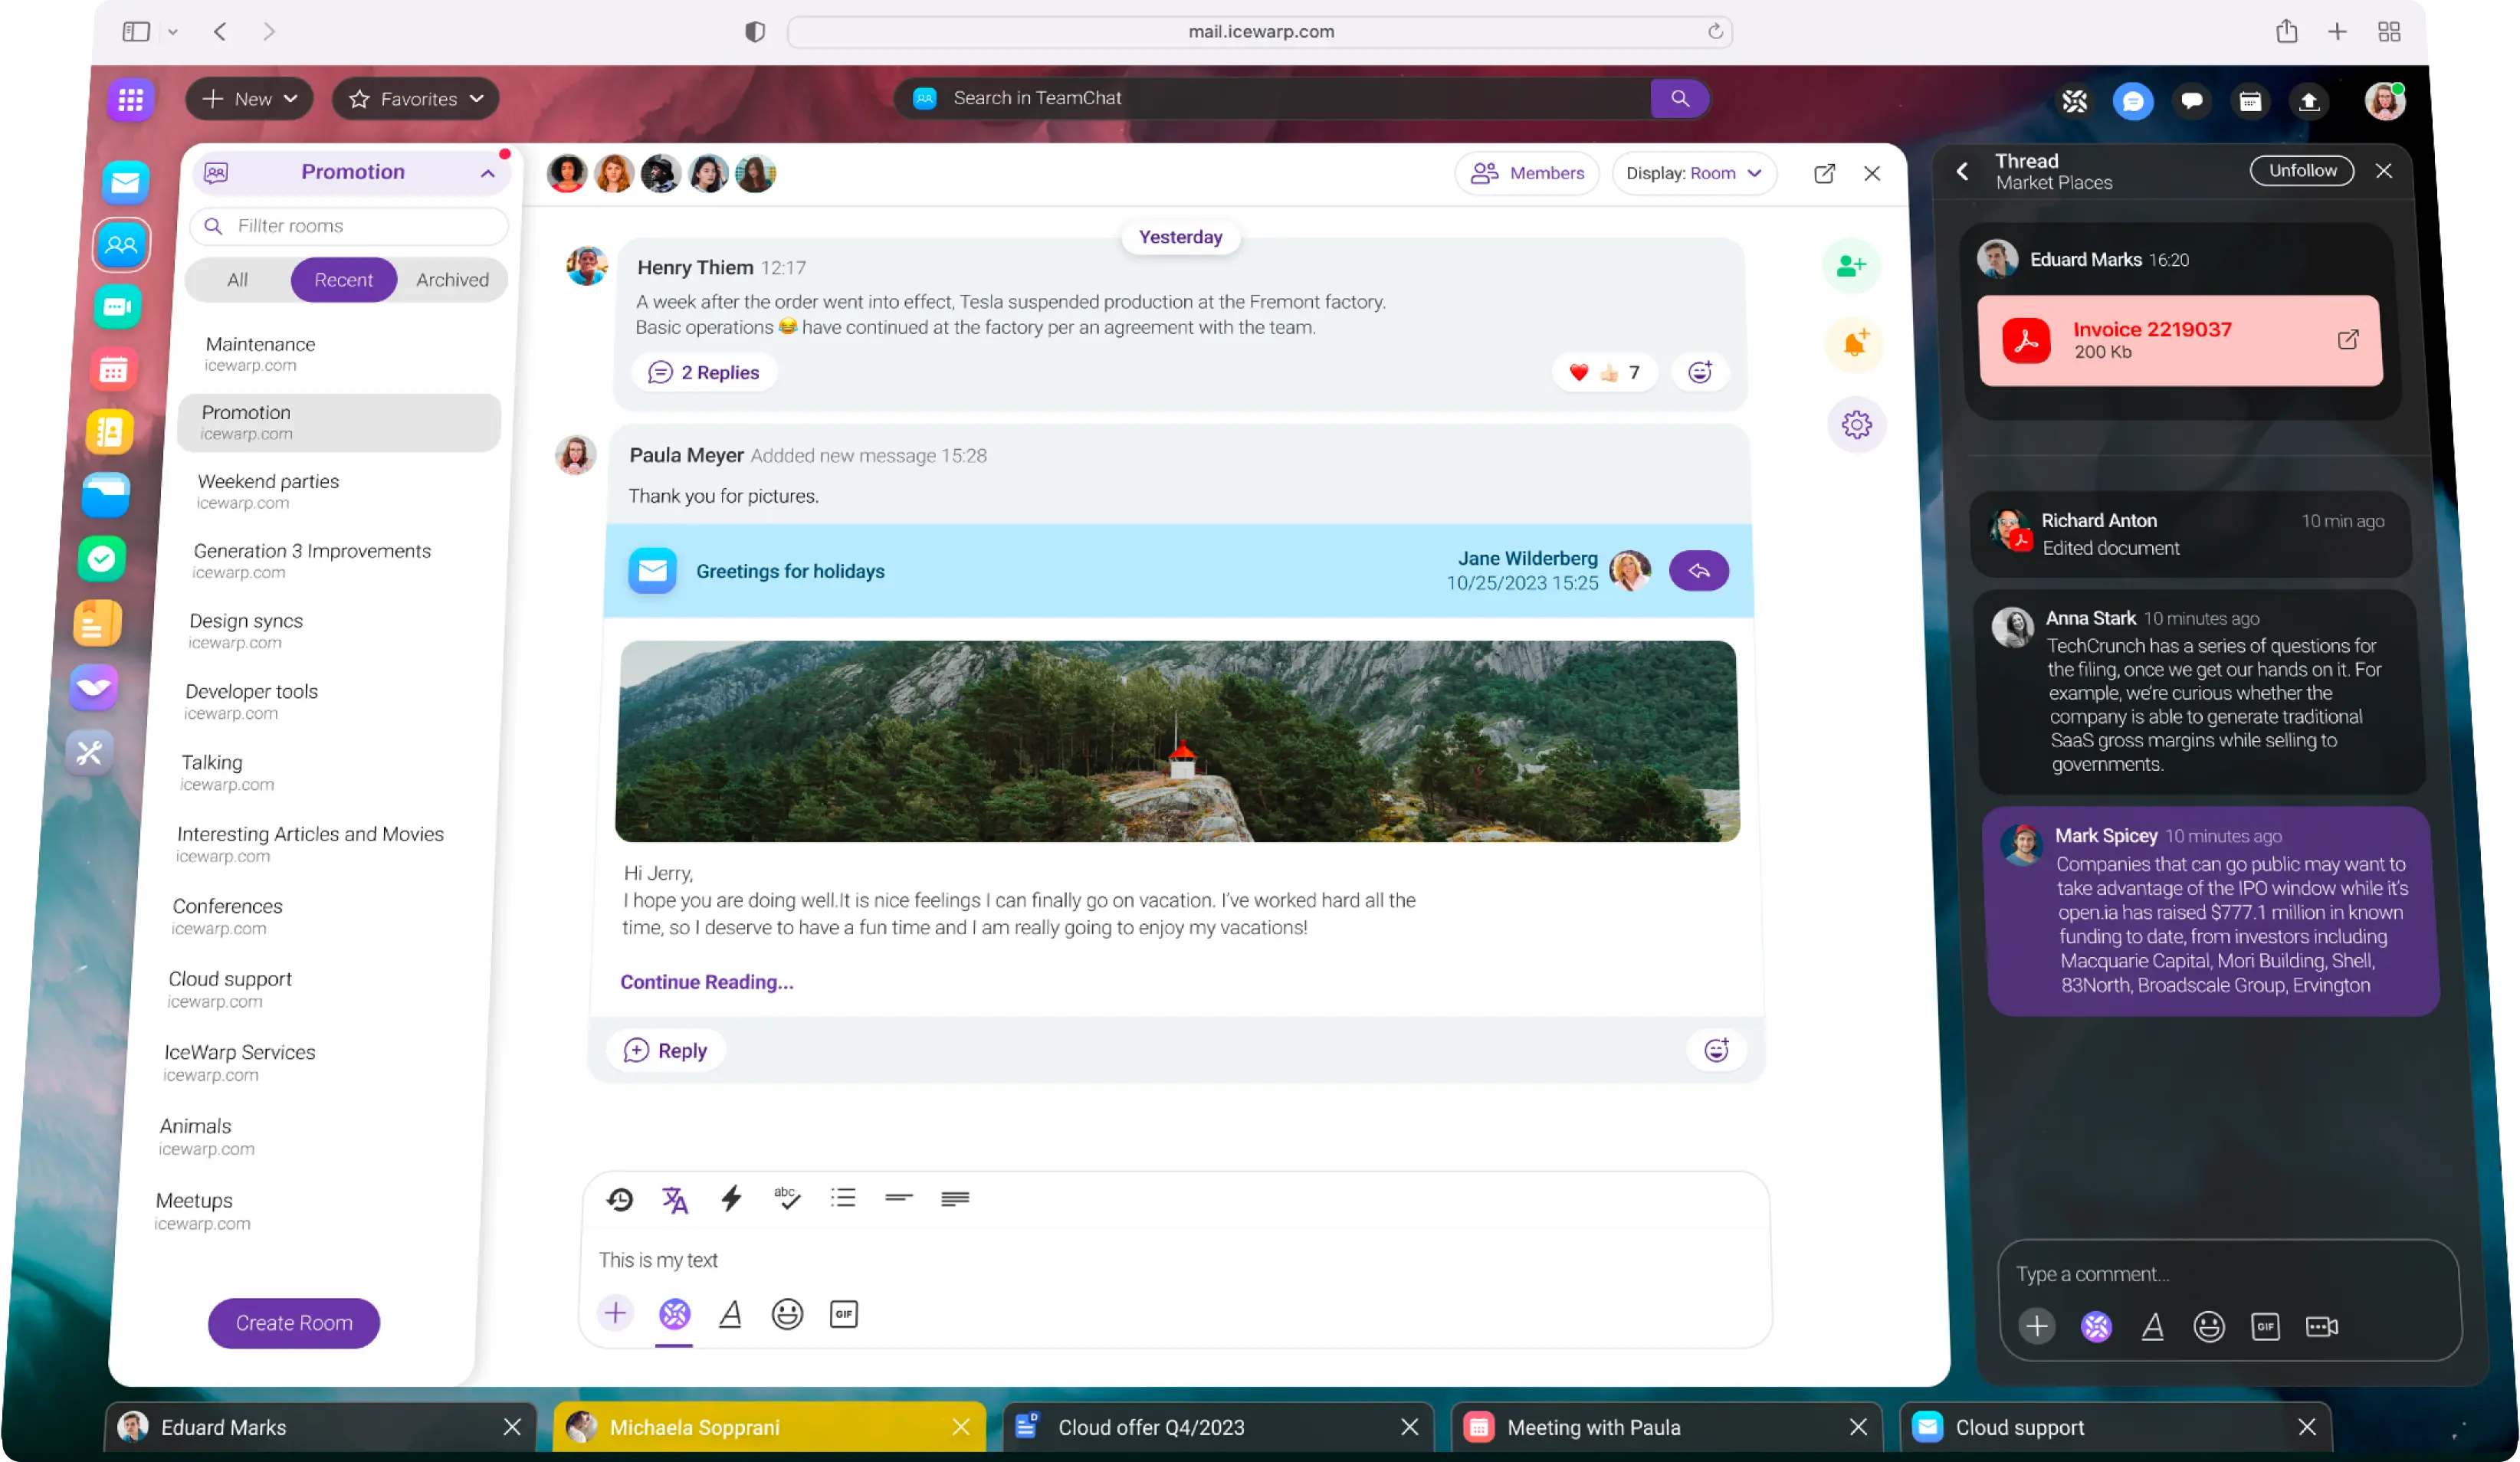
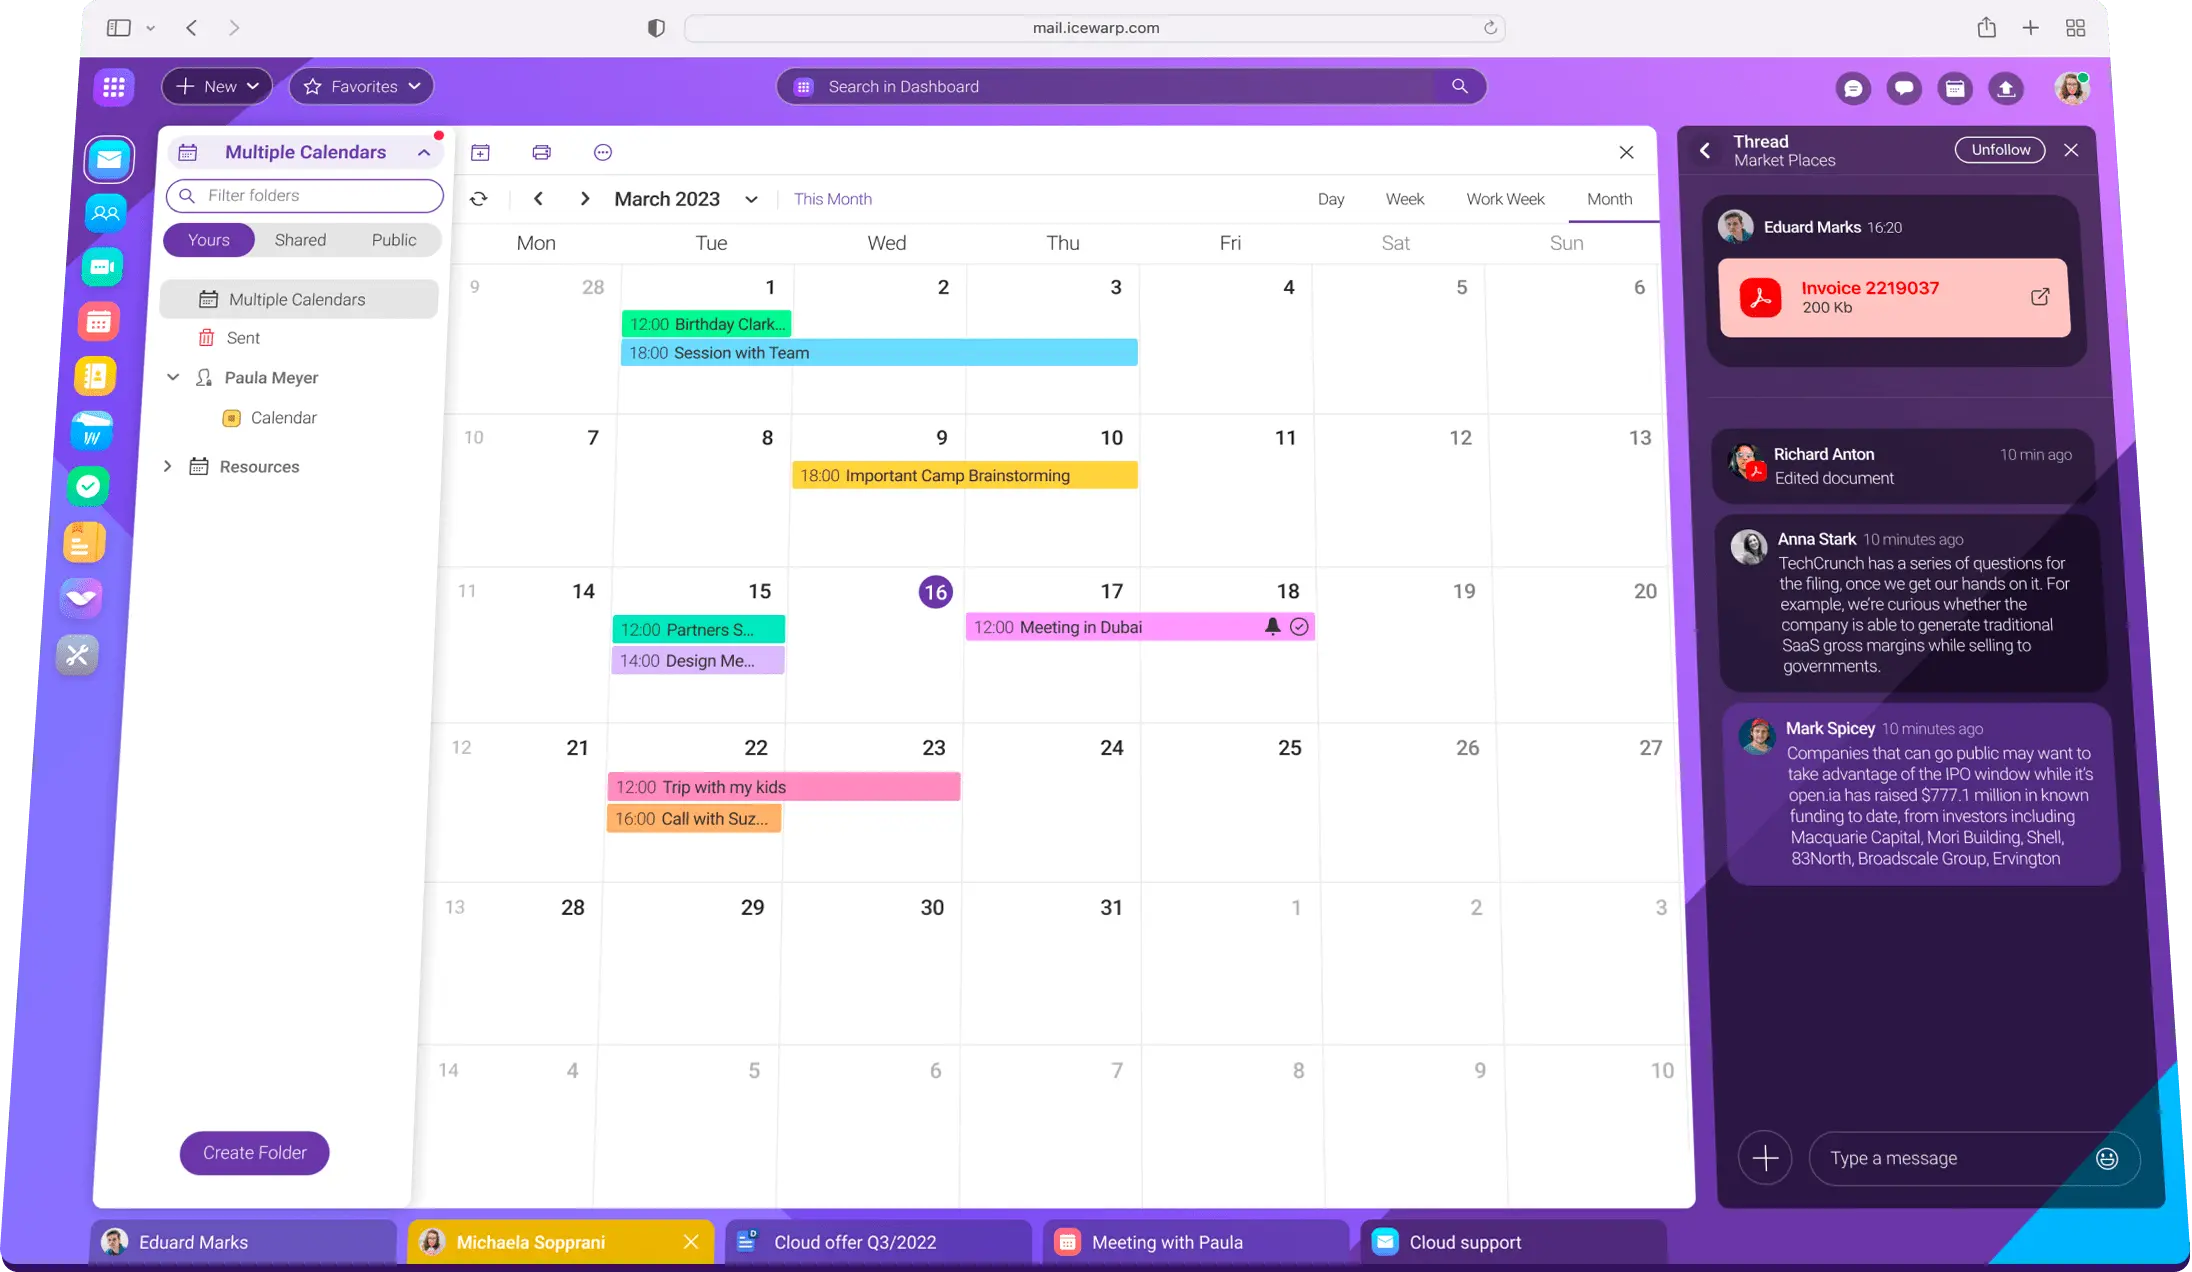
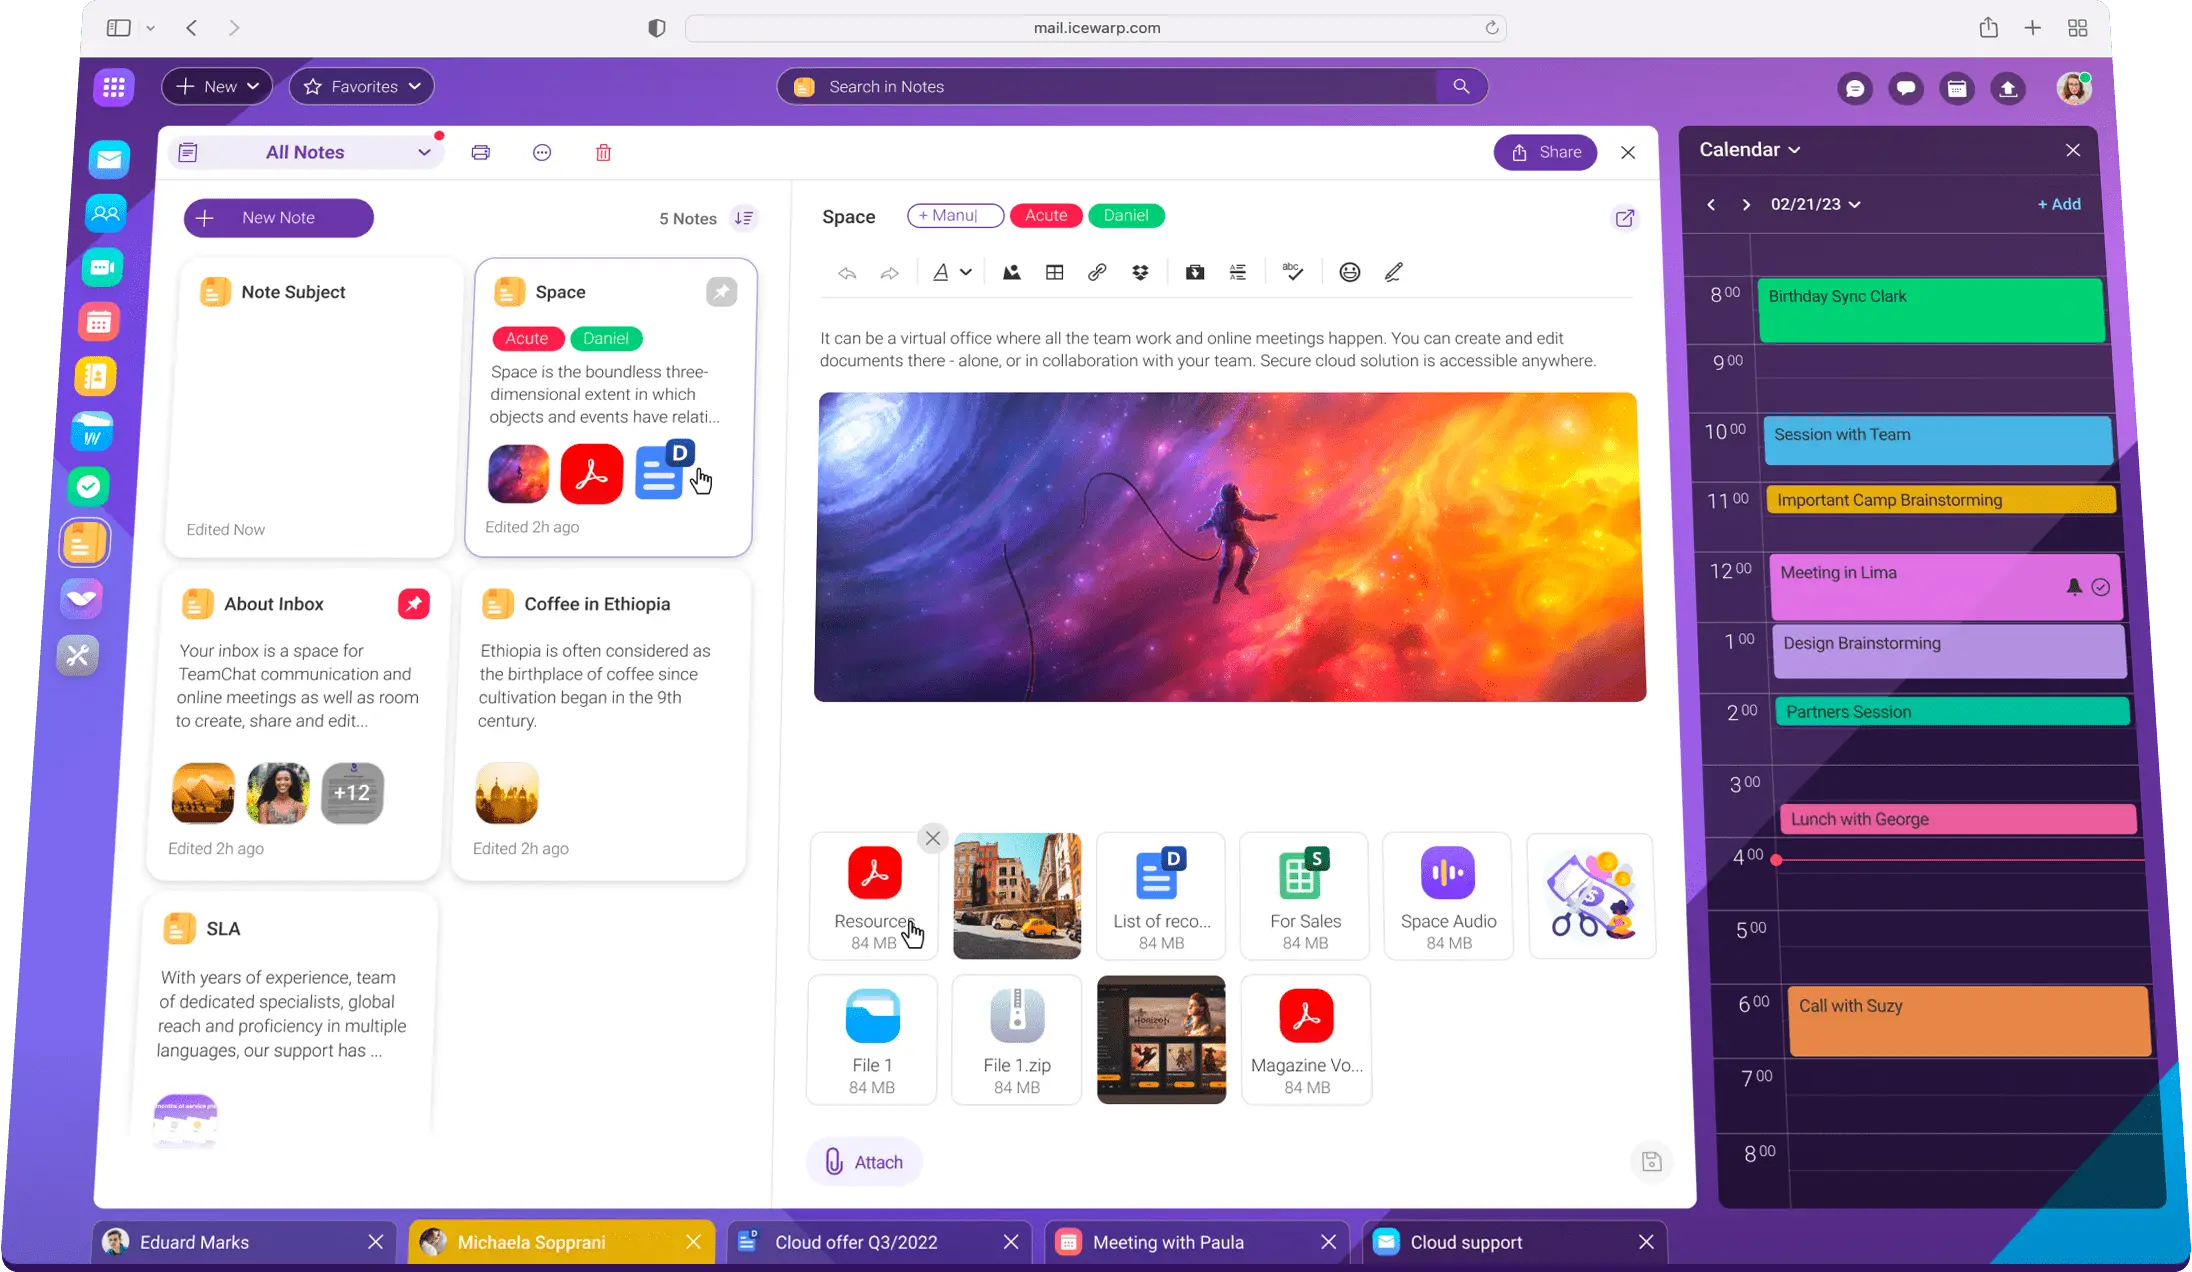
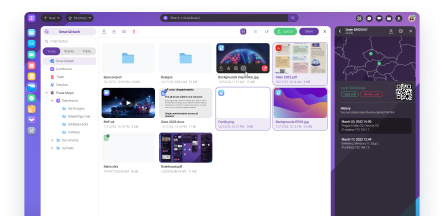
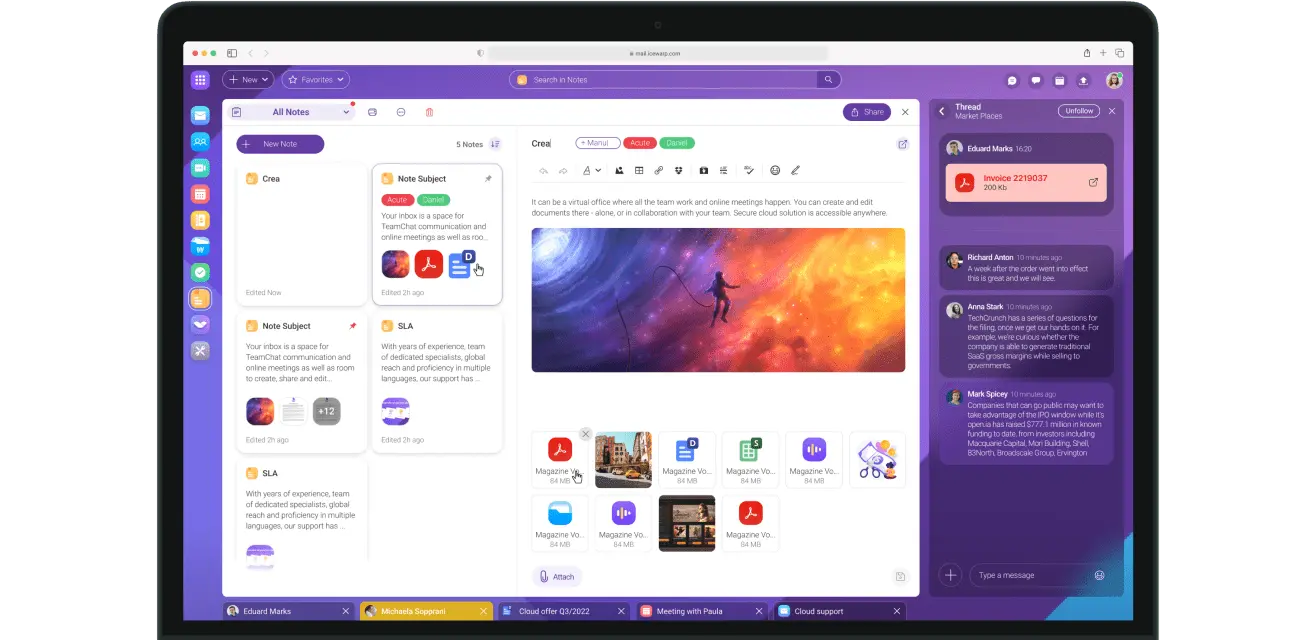
EPOS přináší úplně novou funkci Poznámky.
Porovnejte funkce IceWarpu s konkurencí.

Hledáte místo, kde se dobře pracuje? Možná potřebujeme právě vás!

 Highland Rivers Behavioral Health


 Carabinieros de Chile